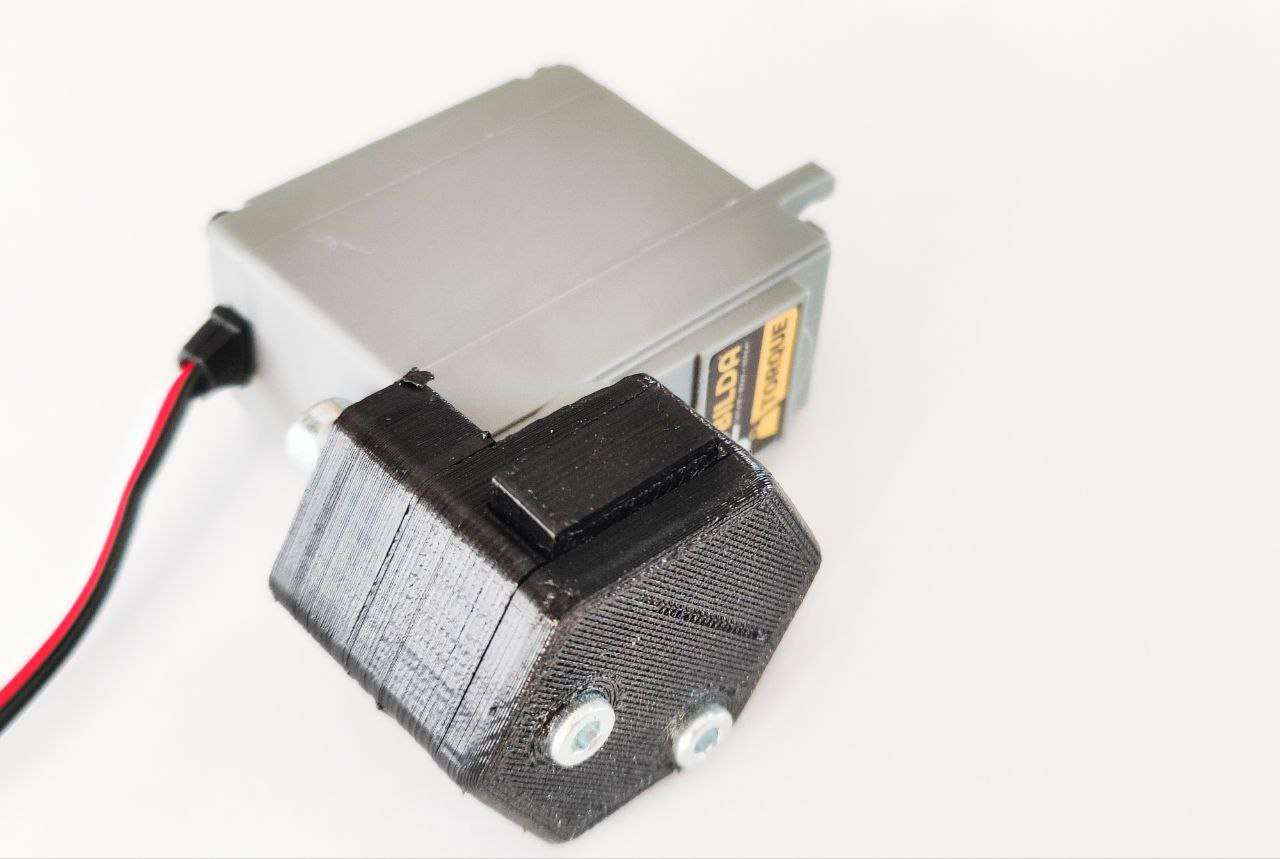
Pixel Drop Assembly Instructions
Bill Of Materials
| Component | Source | Qty |
|---|---|---|
| Triple Fault Custom Mount | 3D Printed | 1 |
| Triple Fault Custom Cam | 3D Printed | 1 |
| Triple Fault Custom Follower | 3D Printed | 1 |
| Triple Fault Custom Cap | 3D Printed | 1 |
| GoBuilda Standard Size Servo | COTS | 1 |
| M3 8mm Hex Socket Cap Head Screw | COTS | 3 |
| M4 8mm Hex Socket Cap Head Screw | COTS | 2 |
| Size 10 Rubber Band | COTS | 1 |
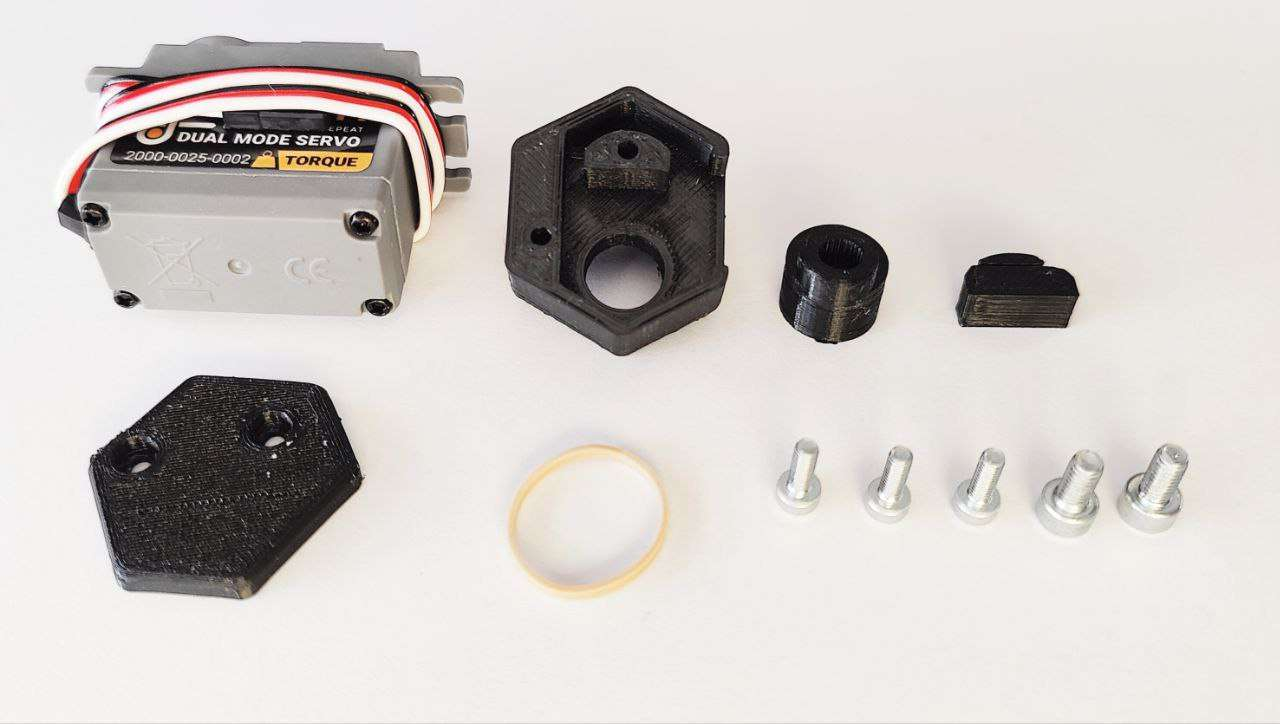
Tools
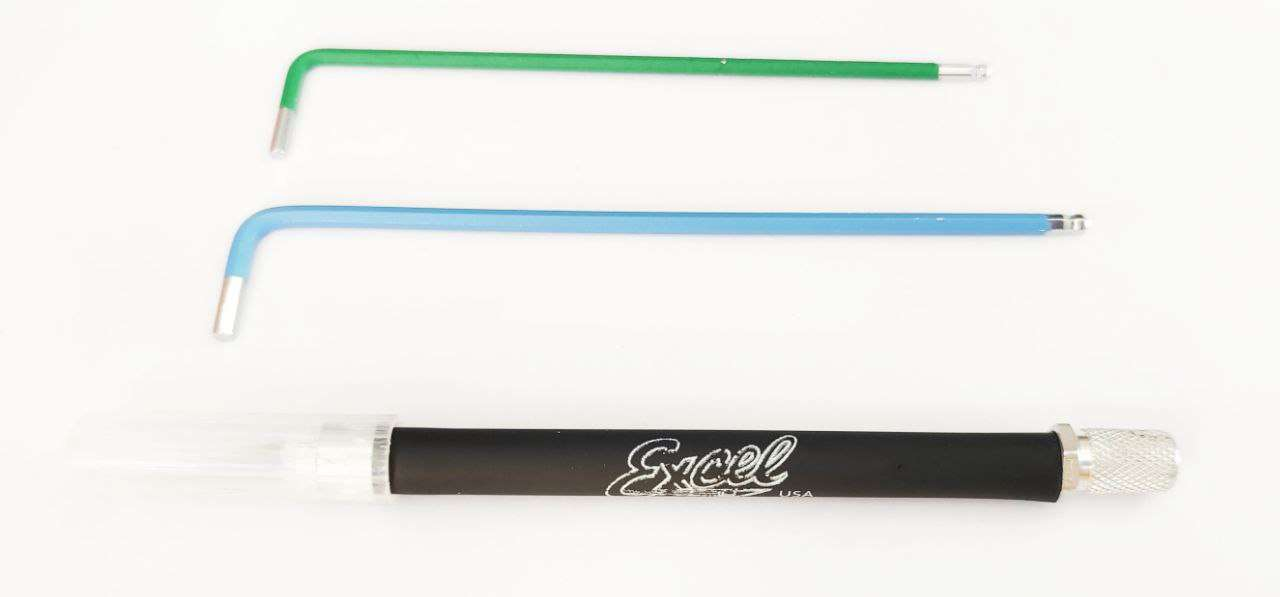
- M3 Allen Key
- M4 Allen Key
- X-Acto Knife
Assembly
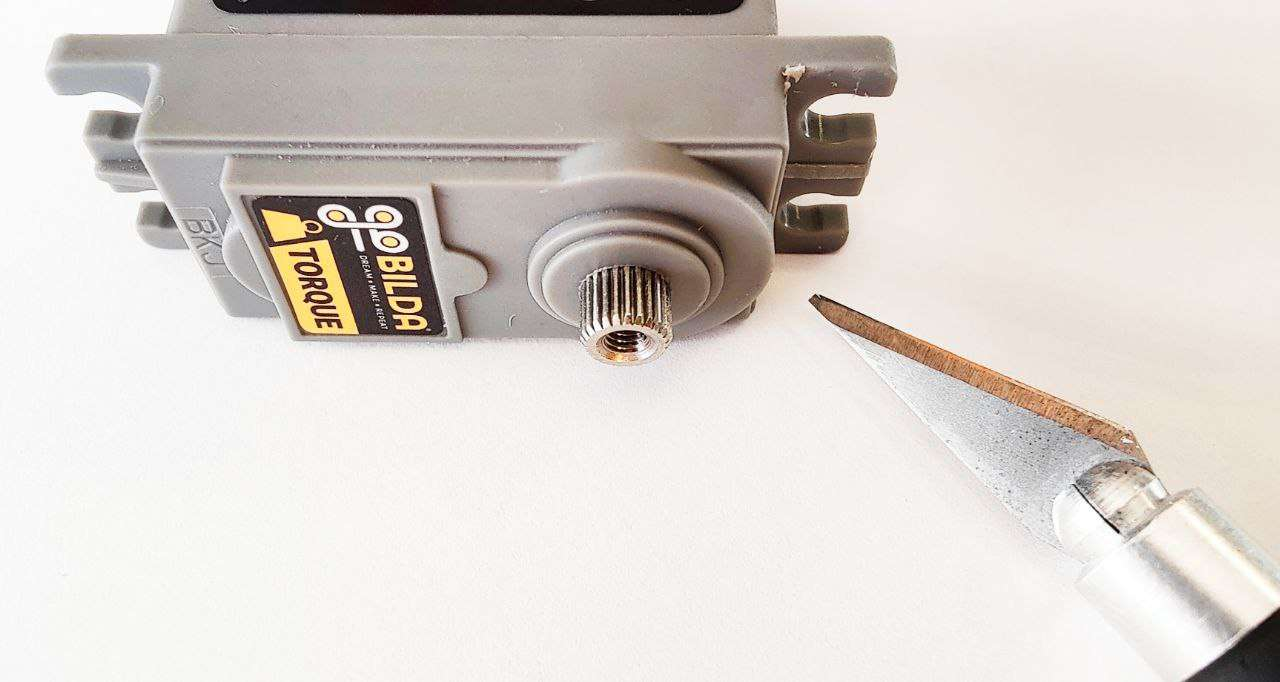
- Use an X-Acto knife or another sharp tool to remove the small support
triangle on the side of the servo. The support gets in the way of the
custom mount, so it’s best to remove it.
- Attach the custom mount to the servo using two M4 screws and an M4
Allen key.
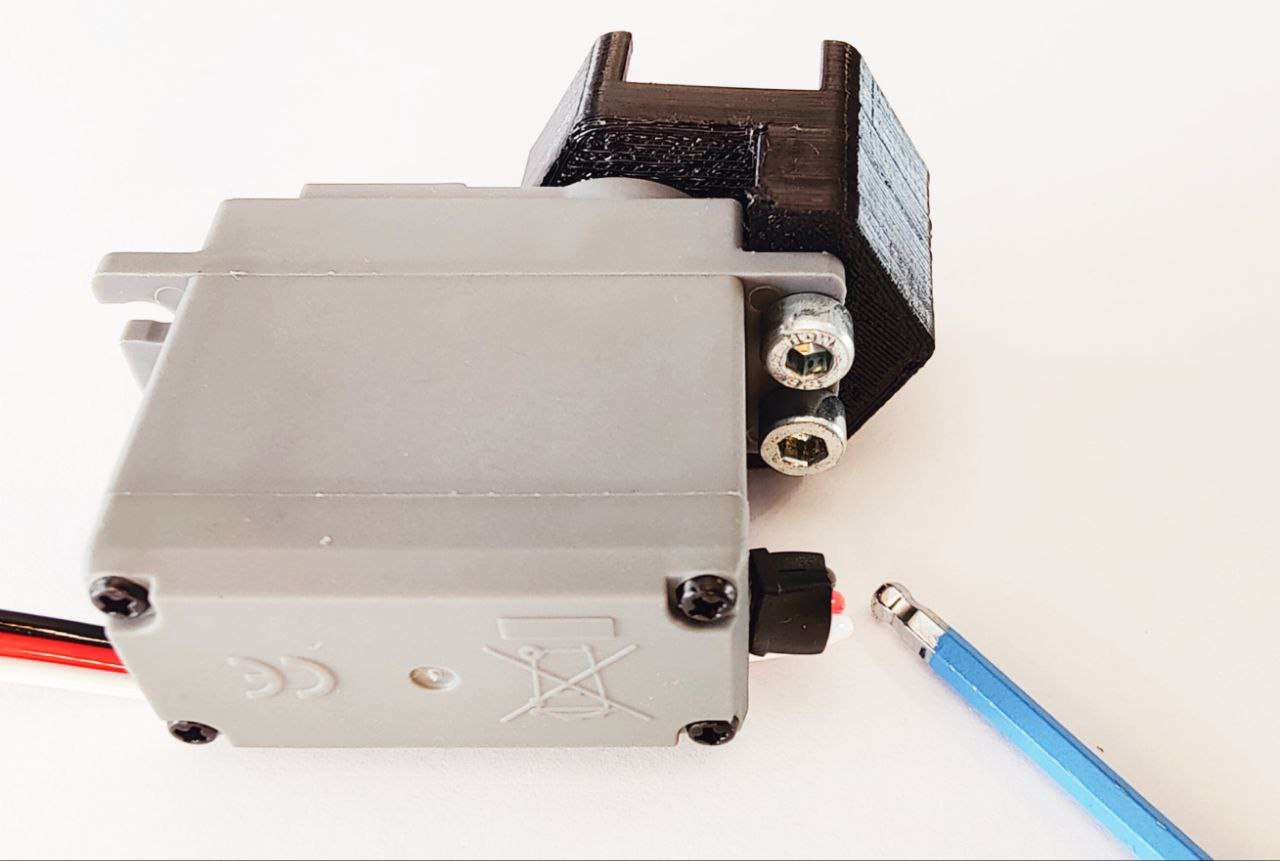
- Attach the custom cam to the servo spline using one M3 screw and an M3
Allen key.
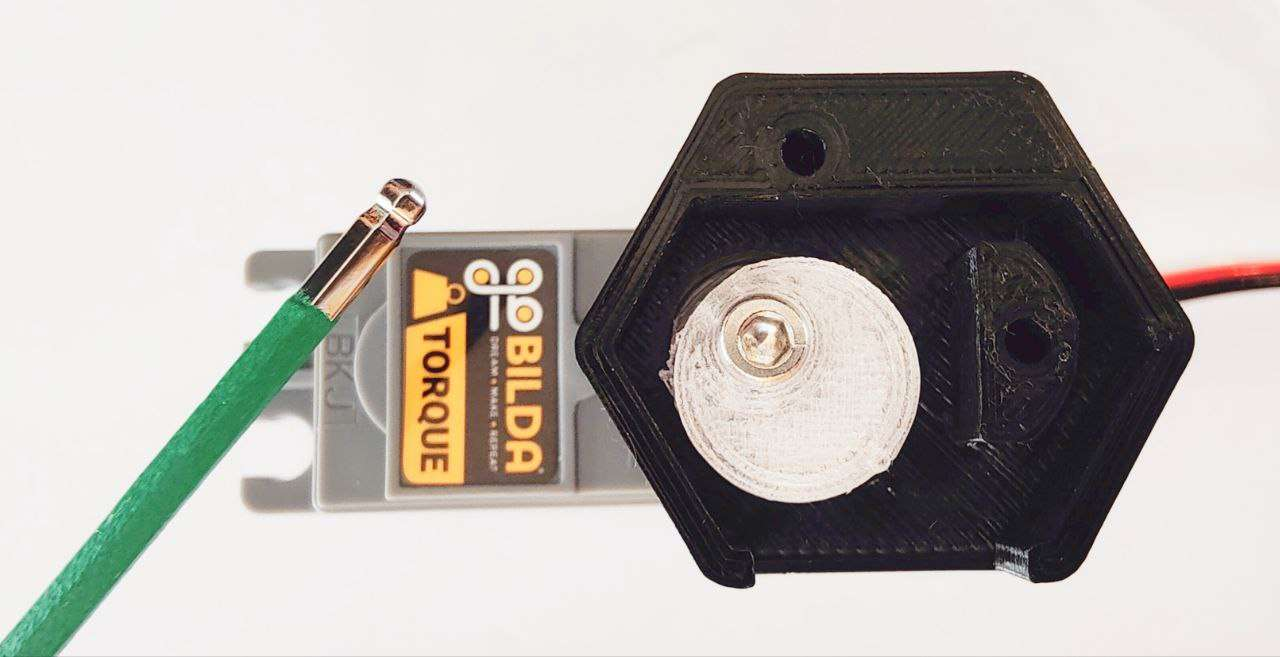
- Fold the rubber band in half and slide it into the small groove of the
custom follower.
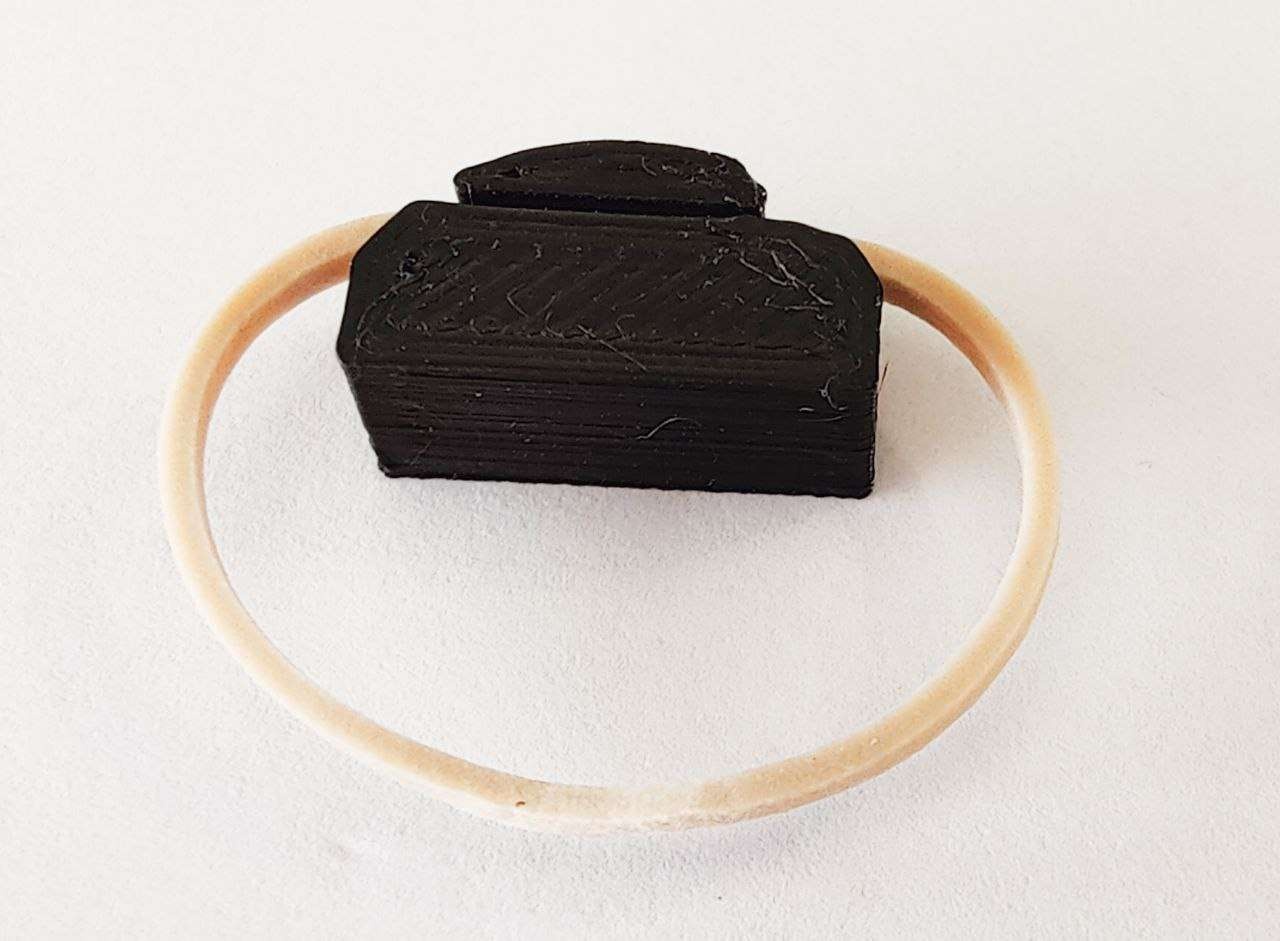
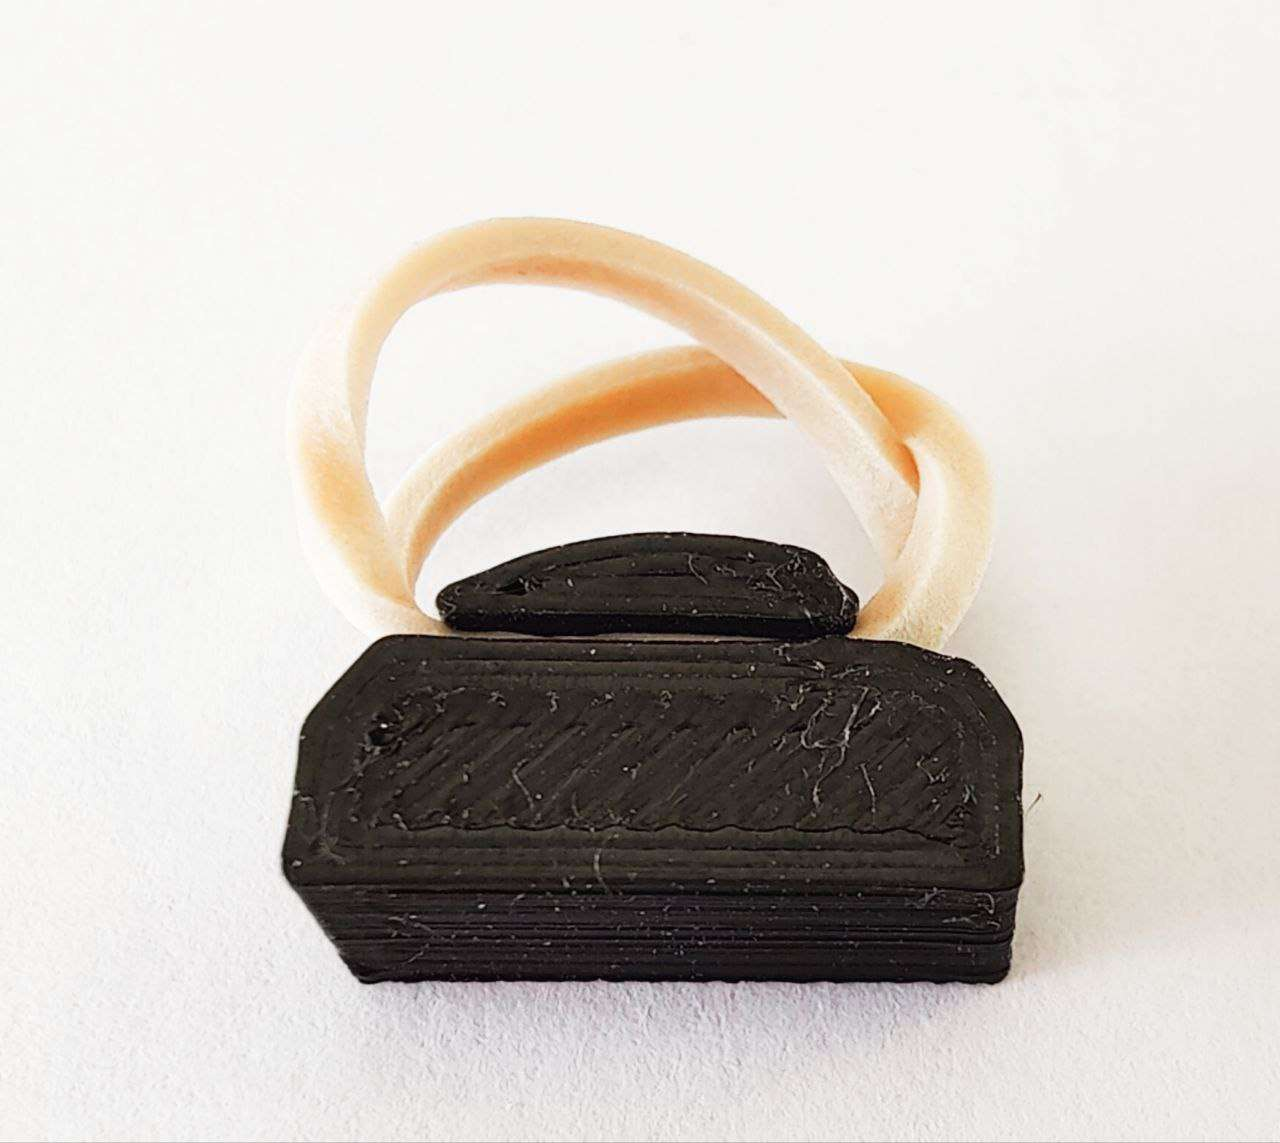
- Attach the follower to the custom mount by wrapping the rubber band
around the cam and standoff.
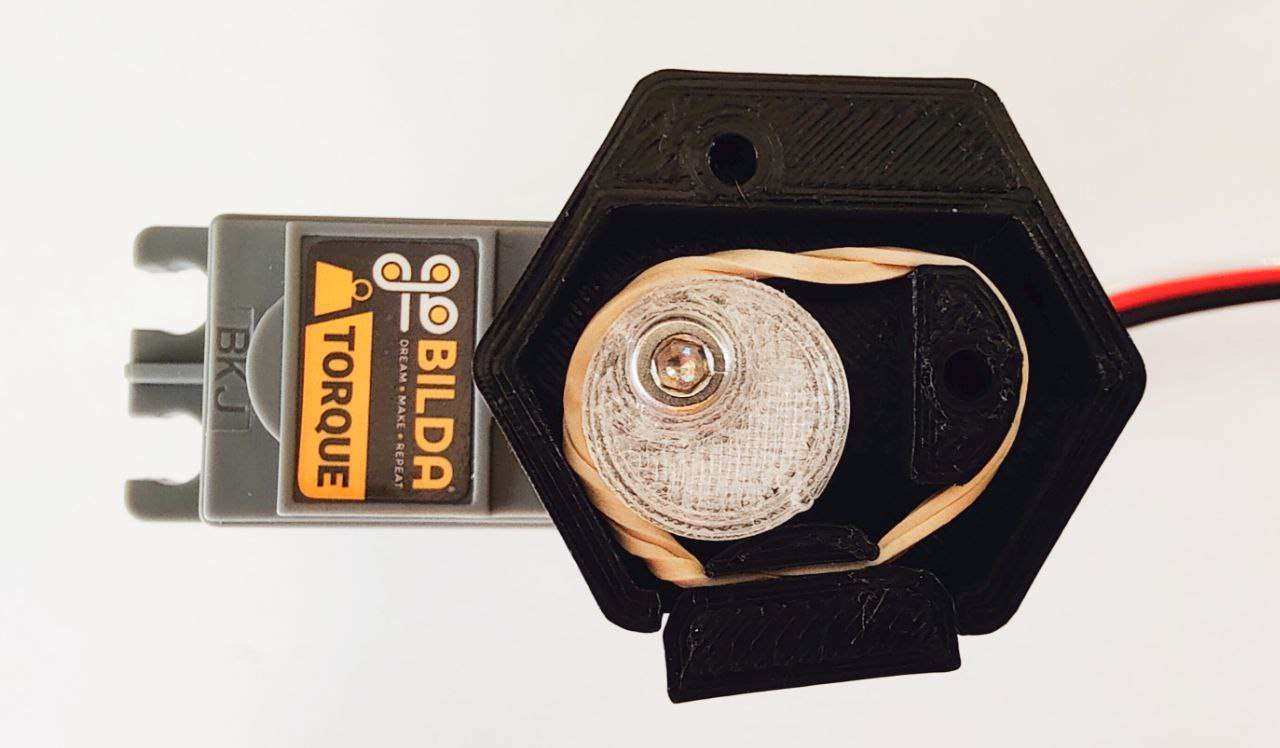
- Finally, attach the custom cap to the bottom of the mount using two M3
screws and an M3 Allen key. Congratulations, you’ve successfully
assembled the Triple Fault Pixel Drop Mechanism!
